
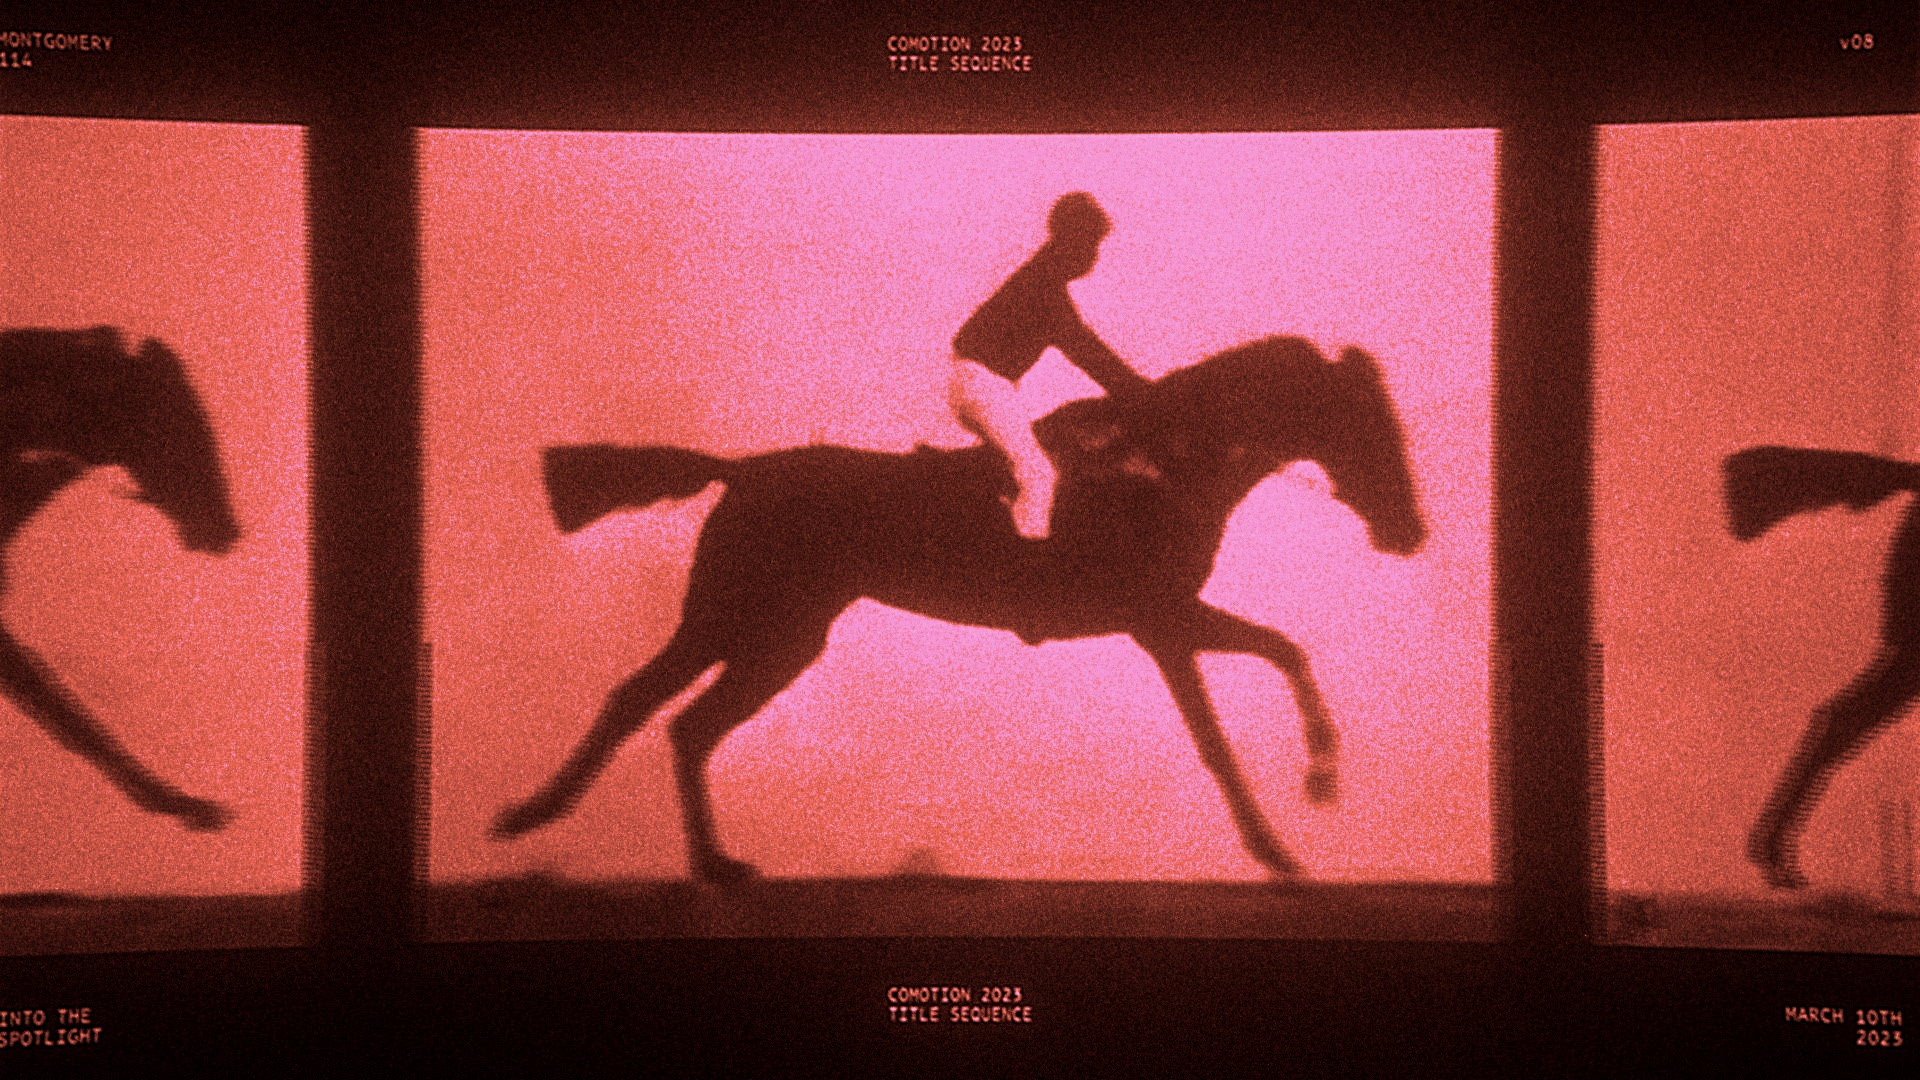
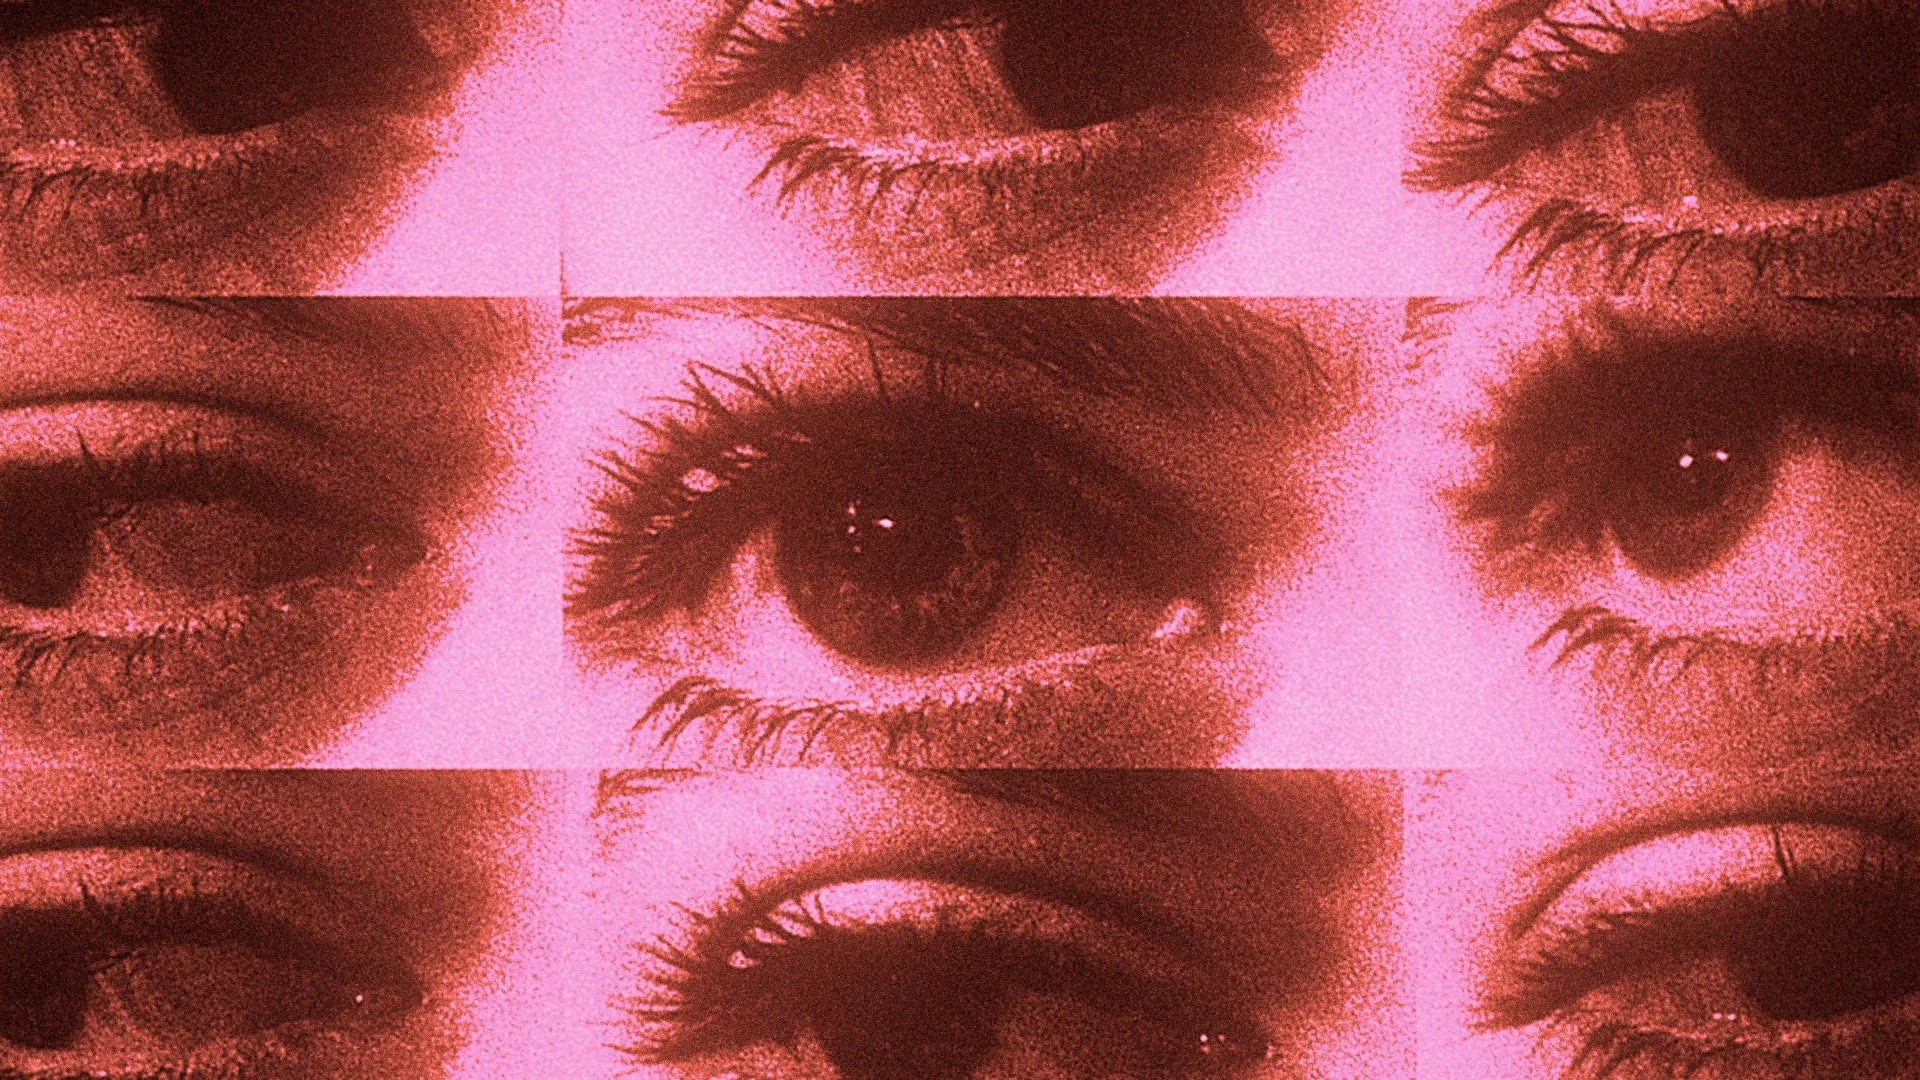
CoMotion 2023 Title Sequence: Into The Spotlight
Role
Lead 3D Animator/Artist
Software Used
Autodesk Maya, Pixologic ZBrush, Substance 3D Painter, Epic Unreal Engine, Quixel Megascans
Project Overview
I had the opportunity to be a part of the branding team for the 2023 iteration of SCAD’s annual CoMotion event. As the Lead 3D Artist/Animator, I collaborated closely with the Creative Director and Animation Lead to establish a 3D pipeline for the team.
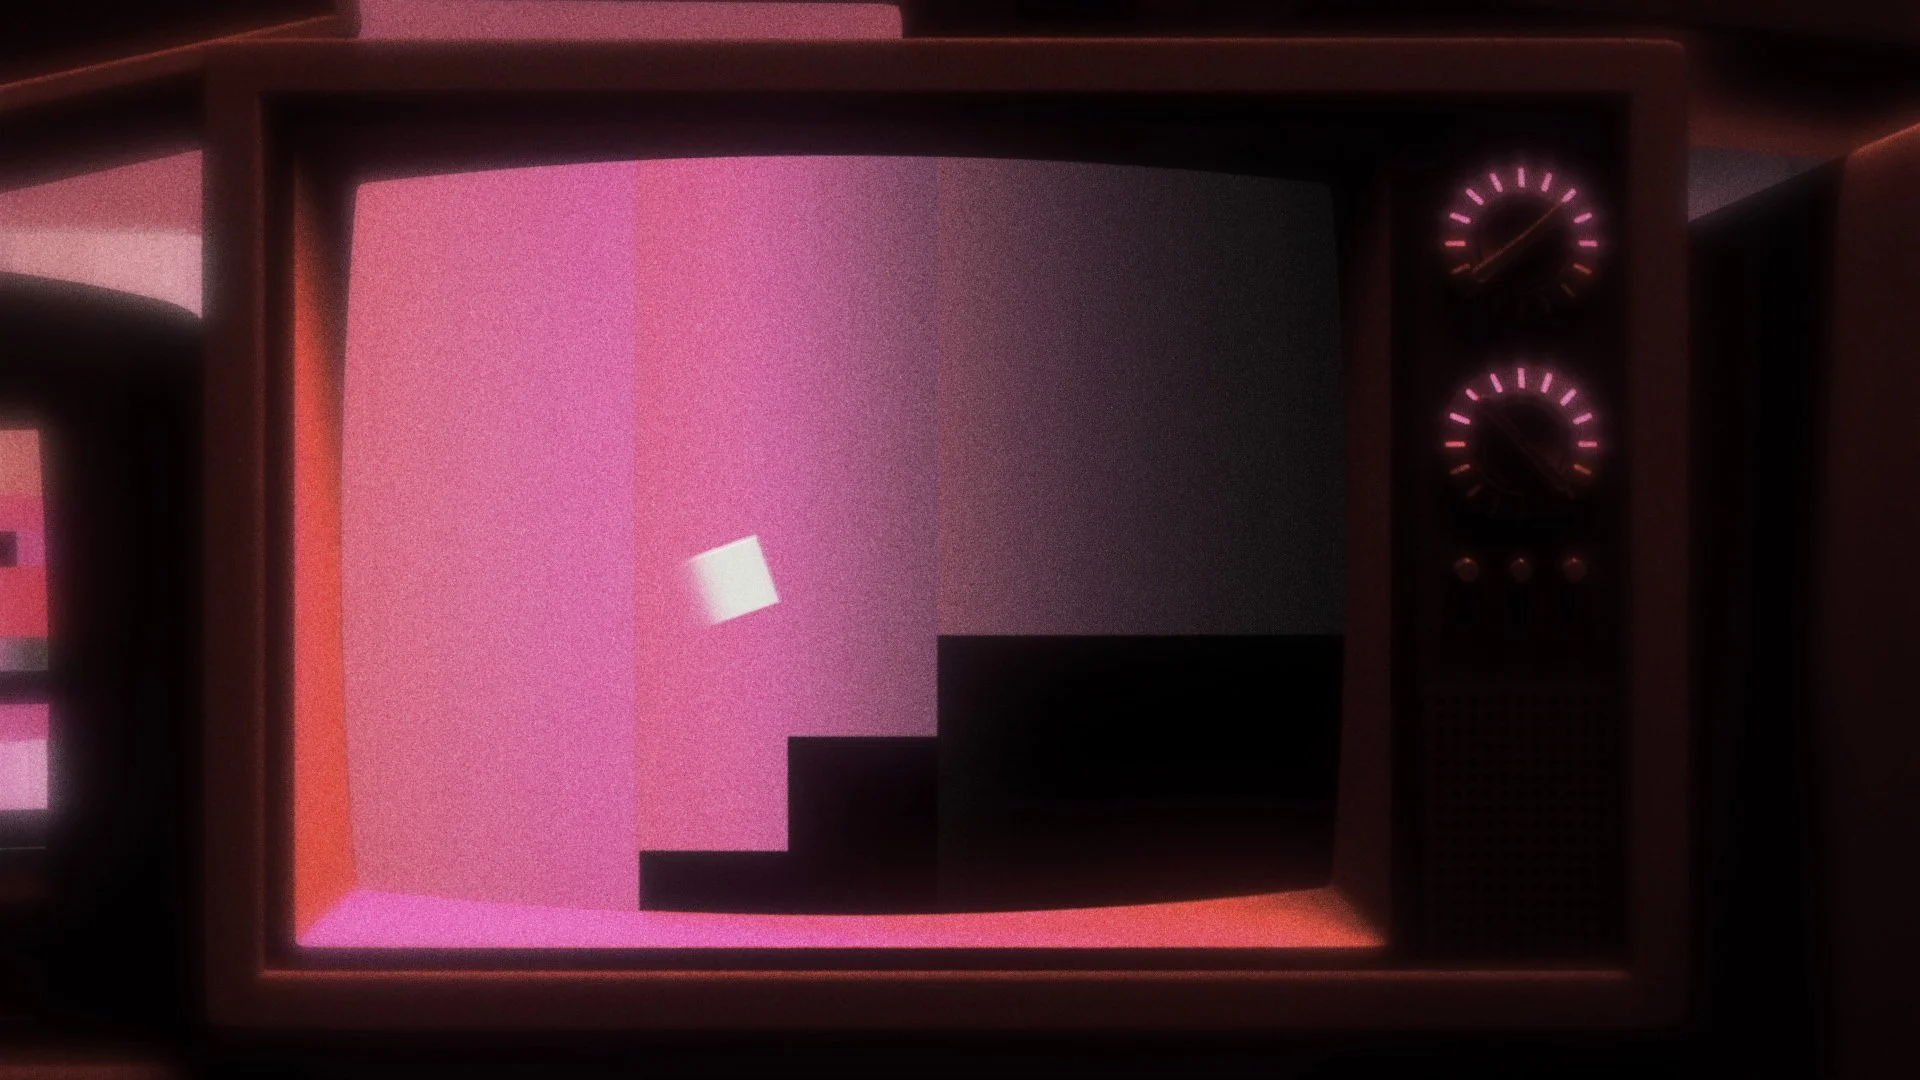
My other responsibilities included creating a series of environments for a few shots in the title sequence.
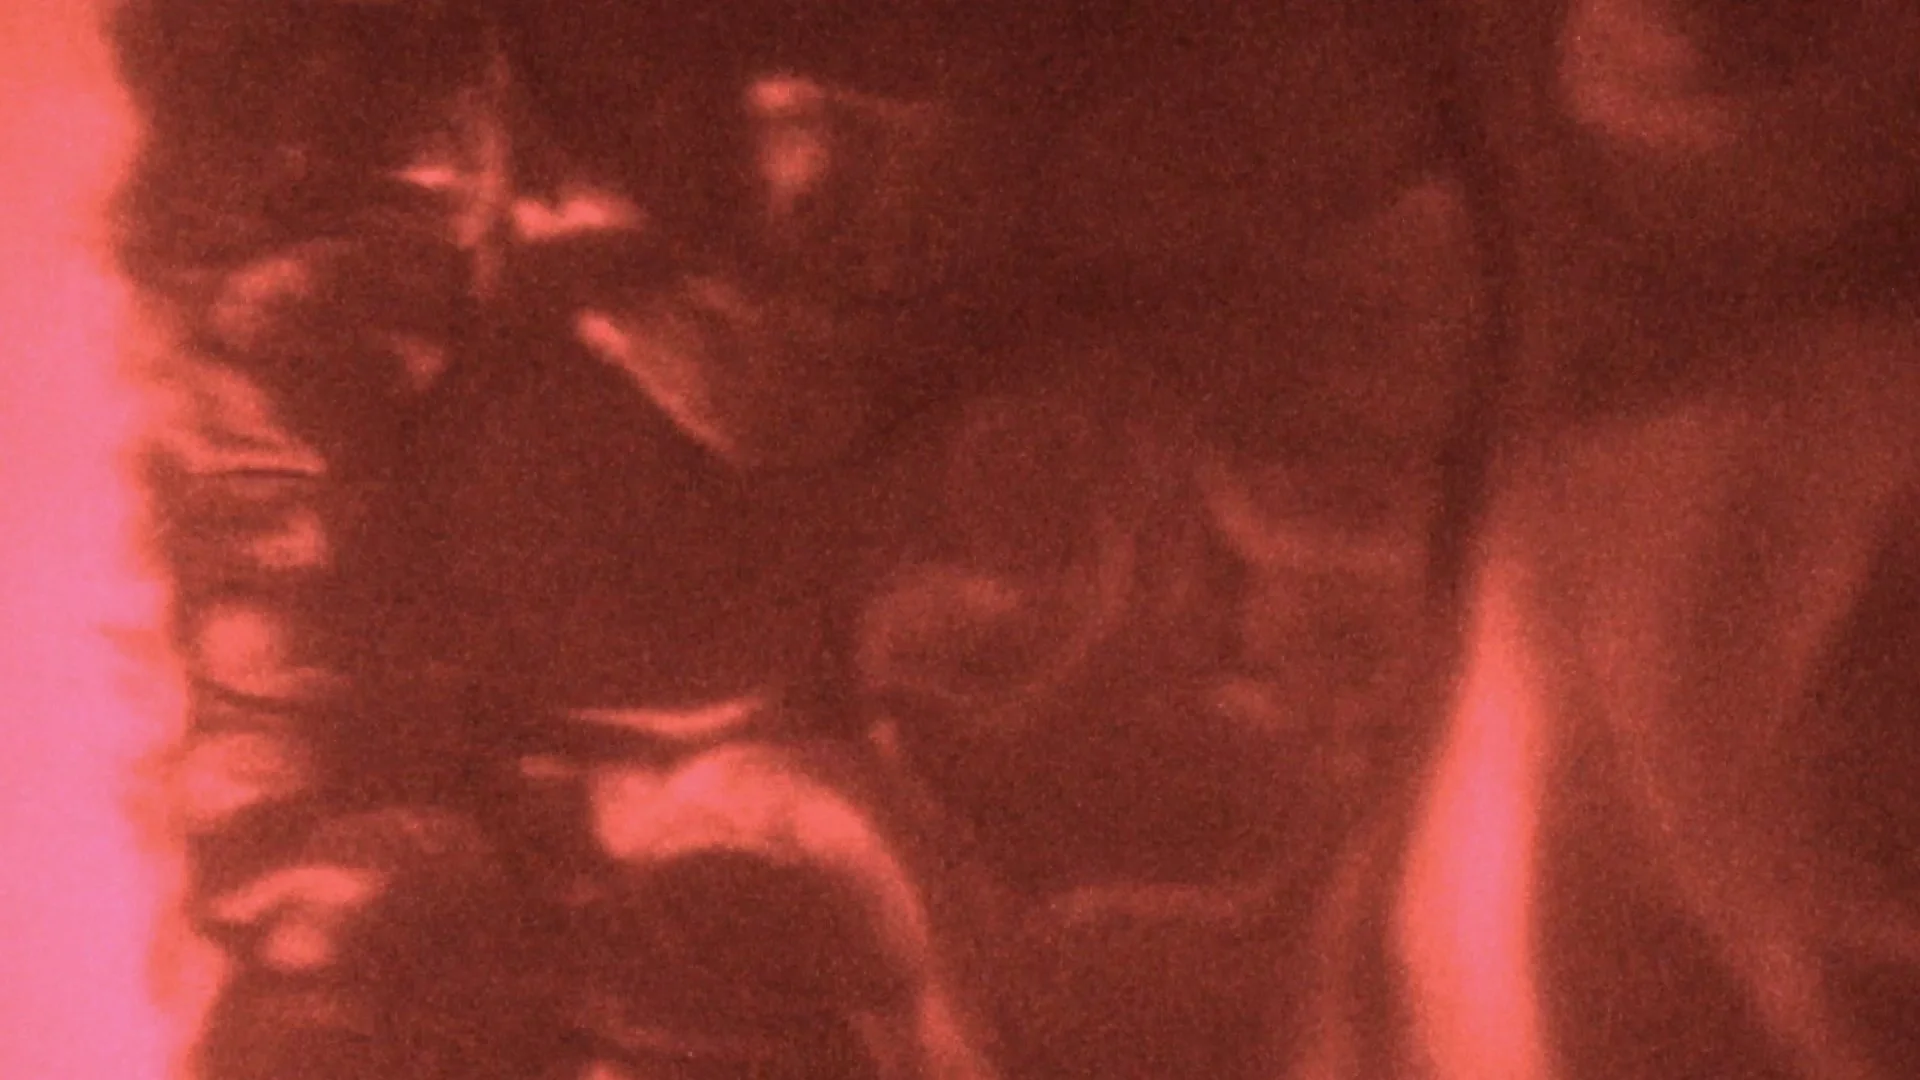
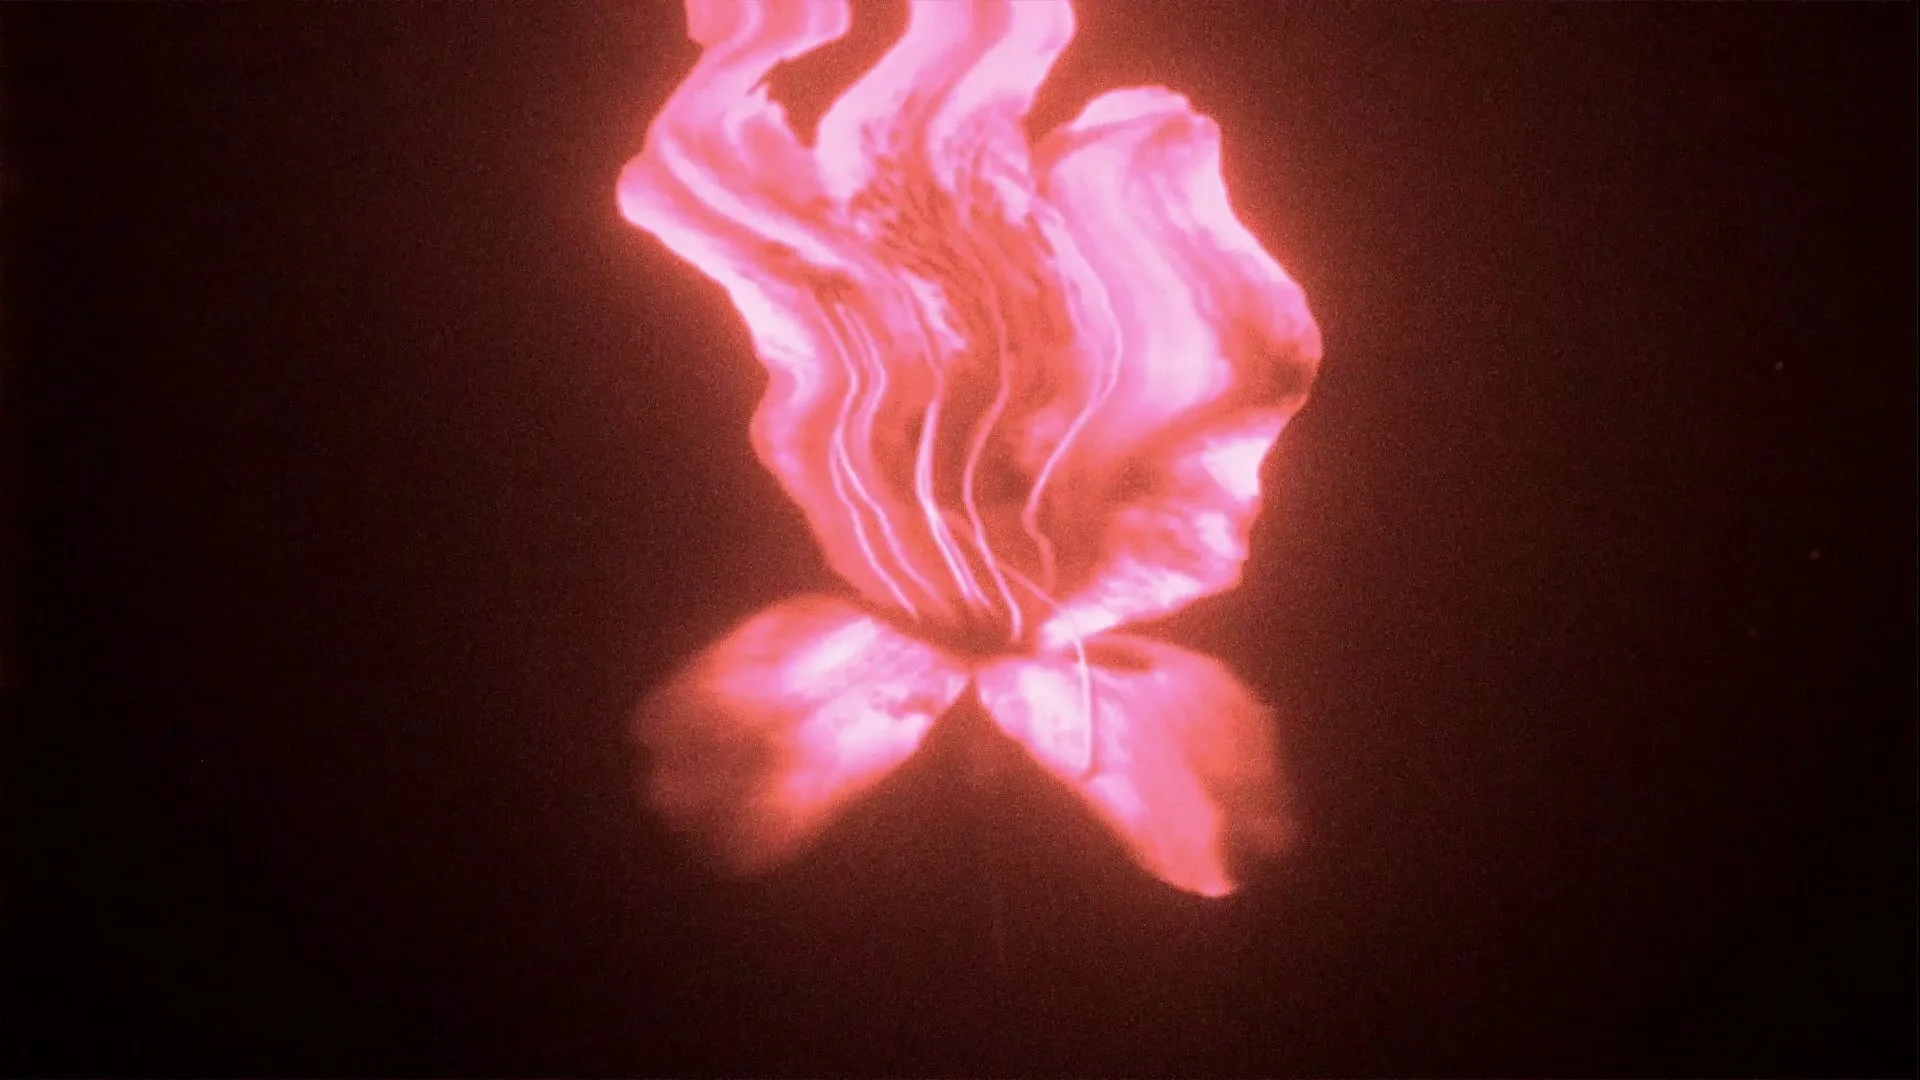
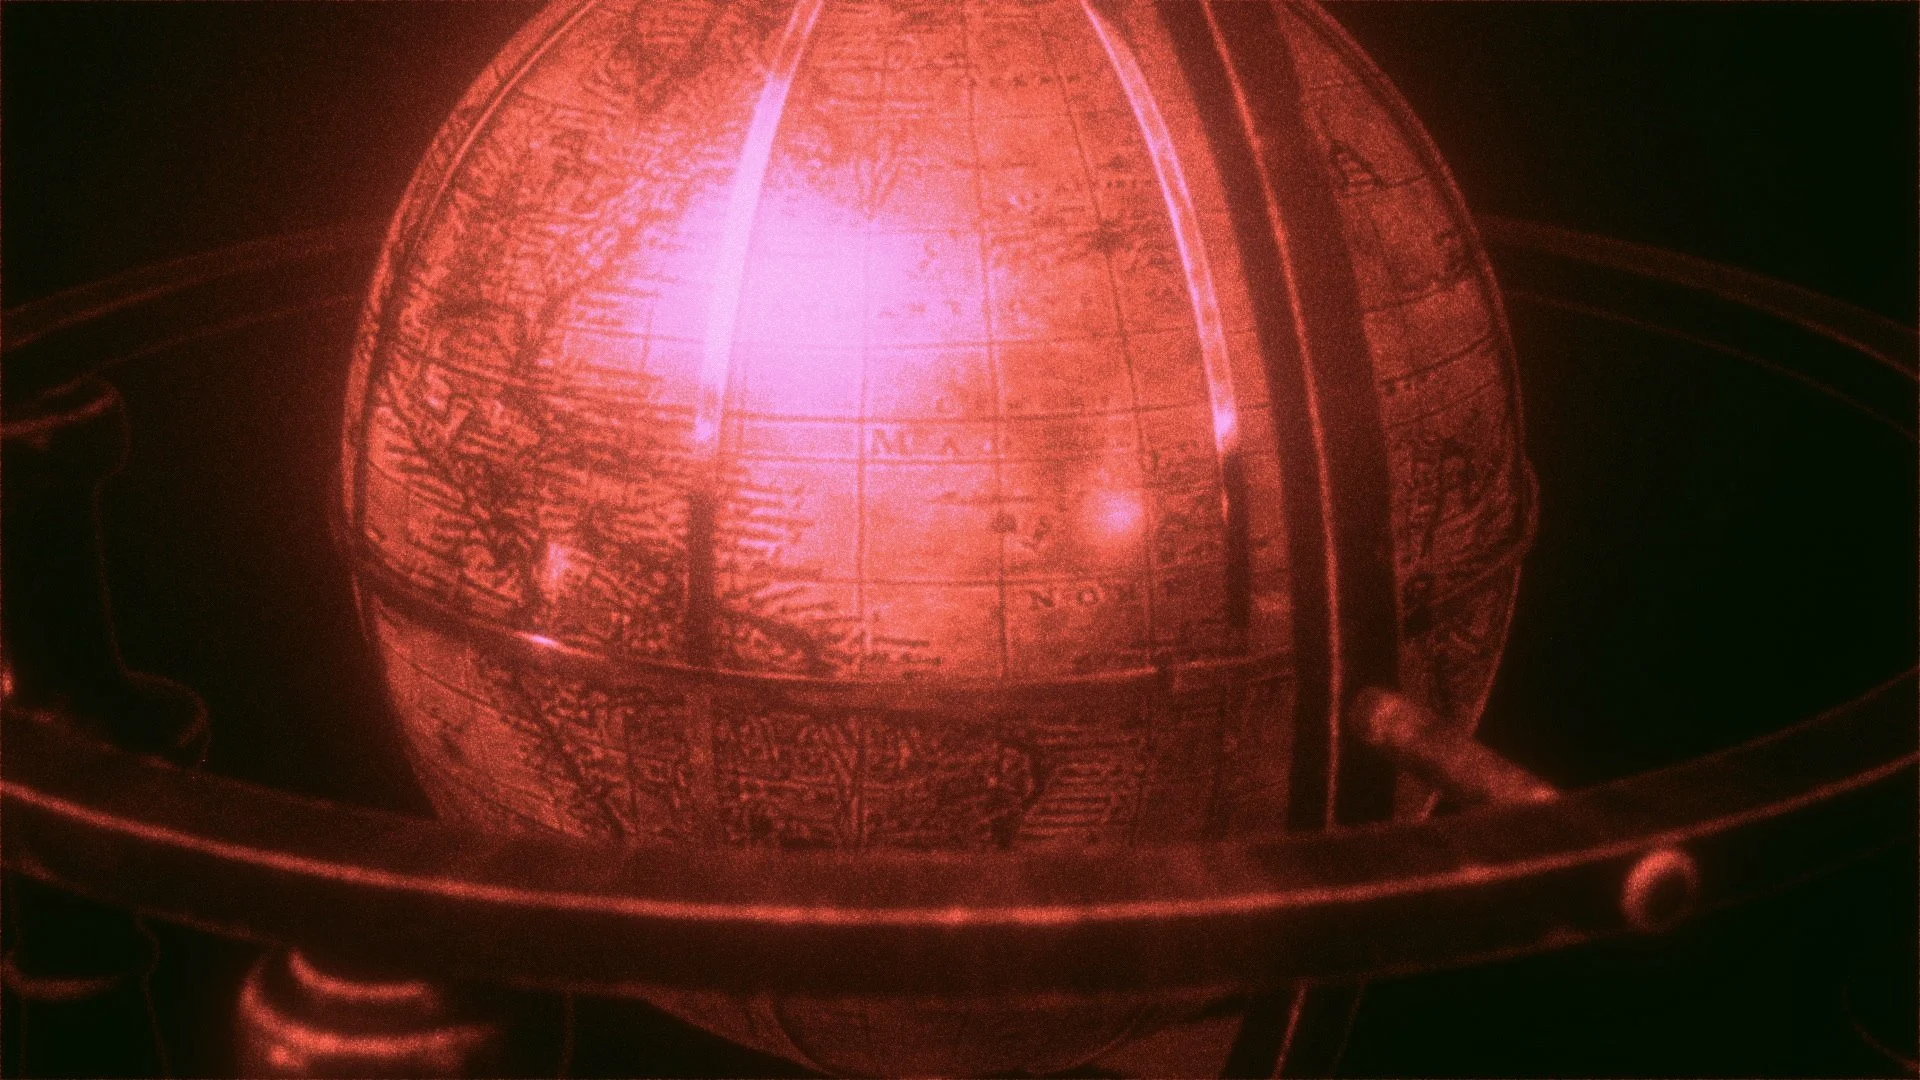
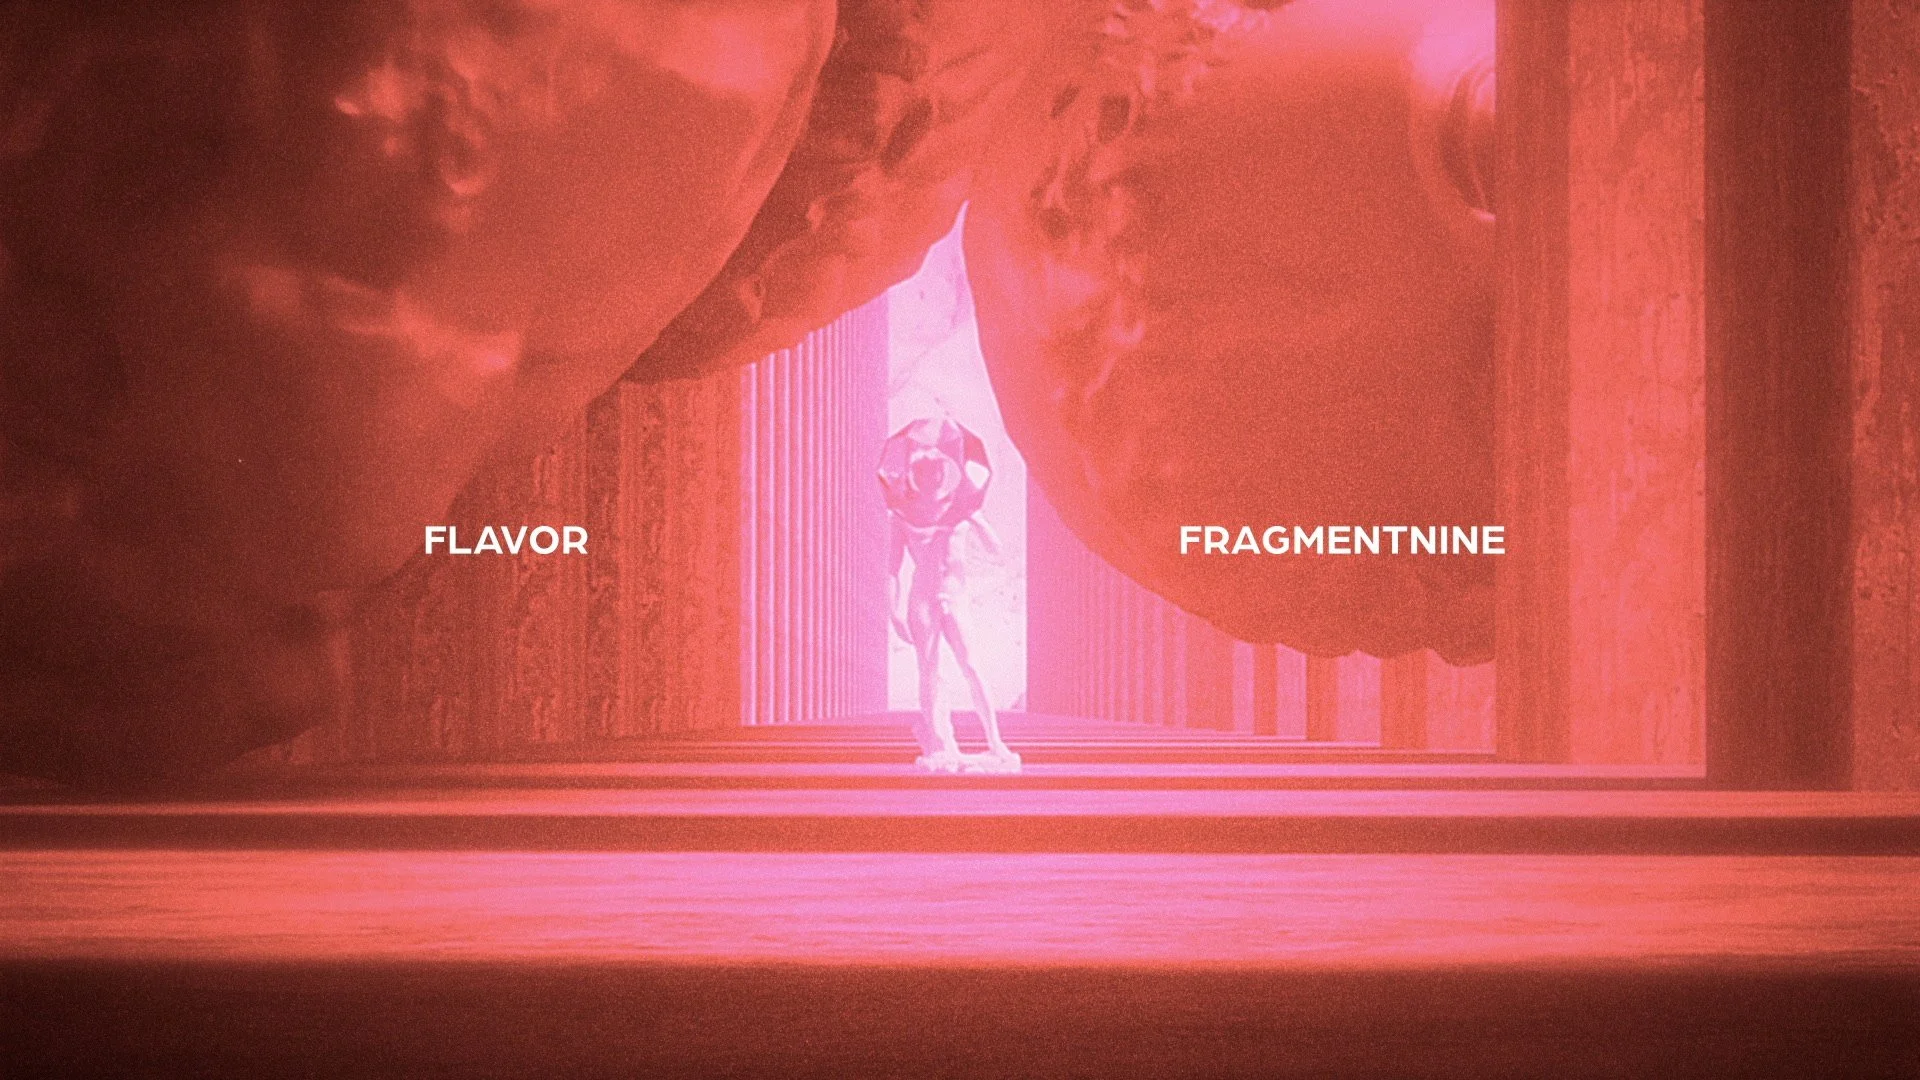
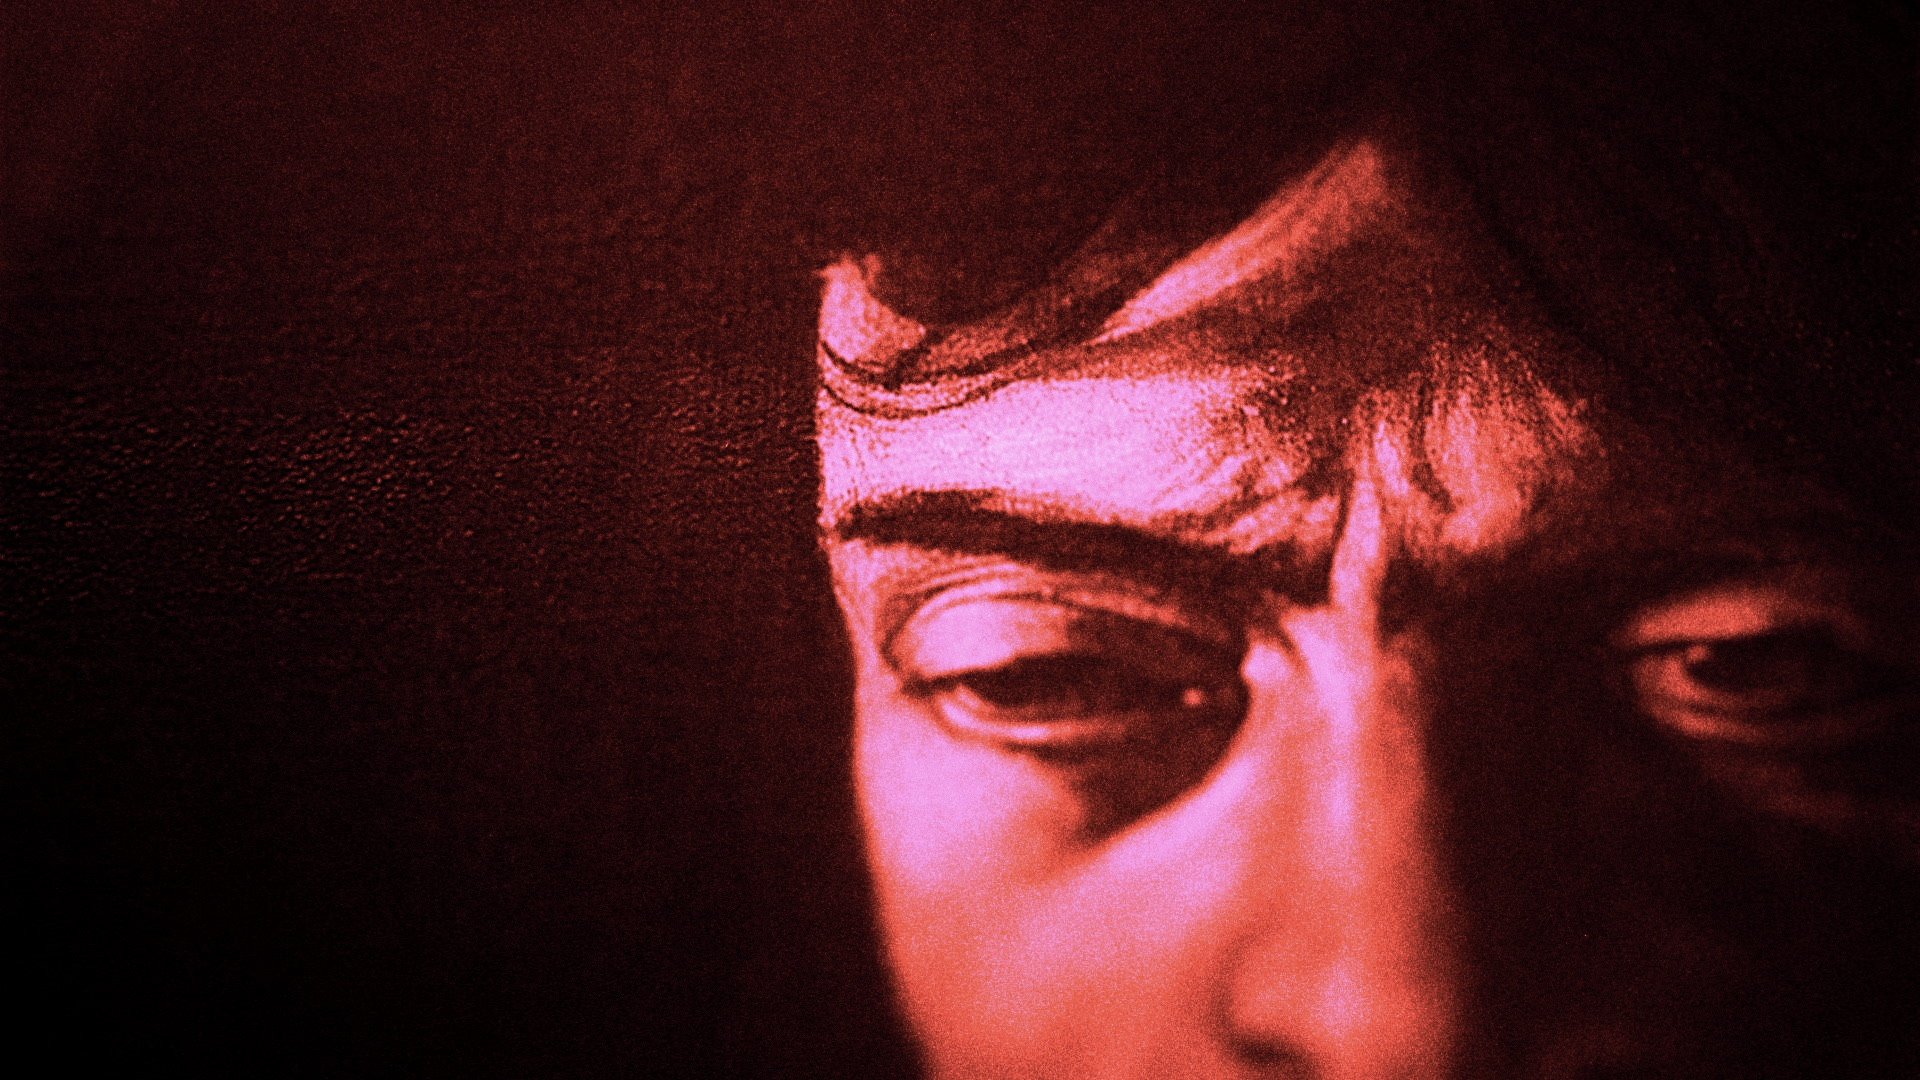
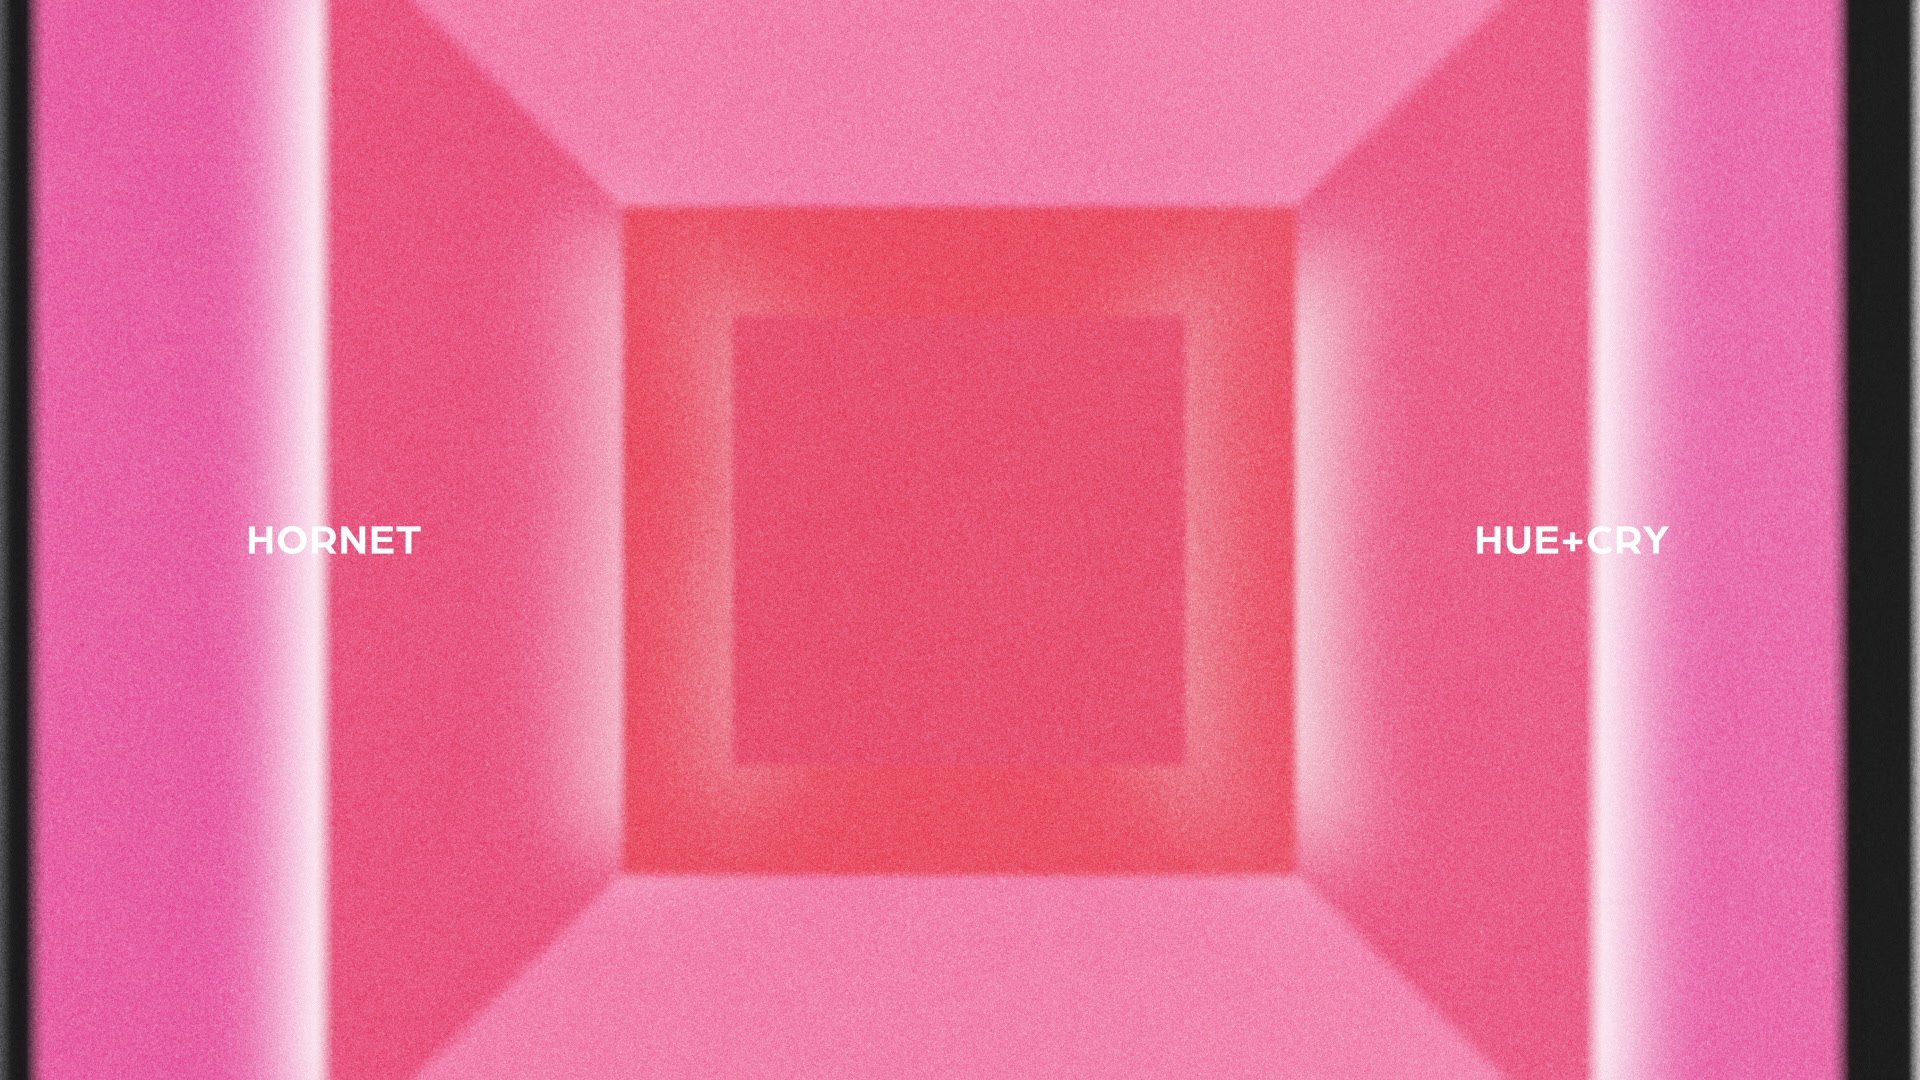
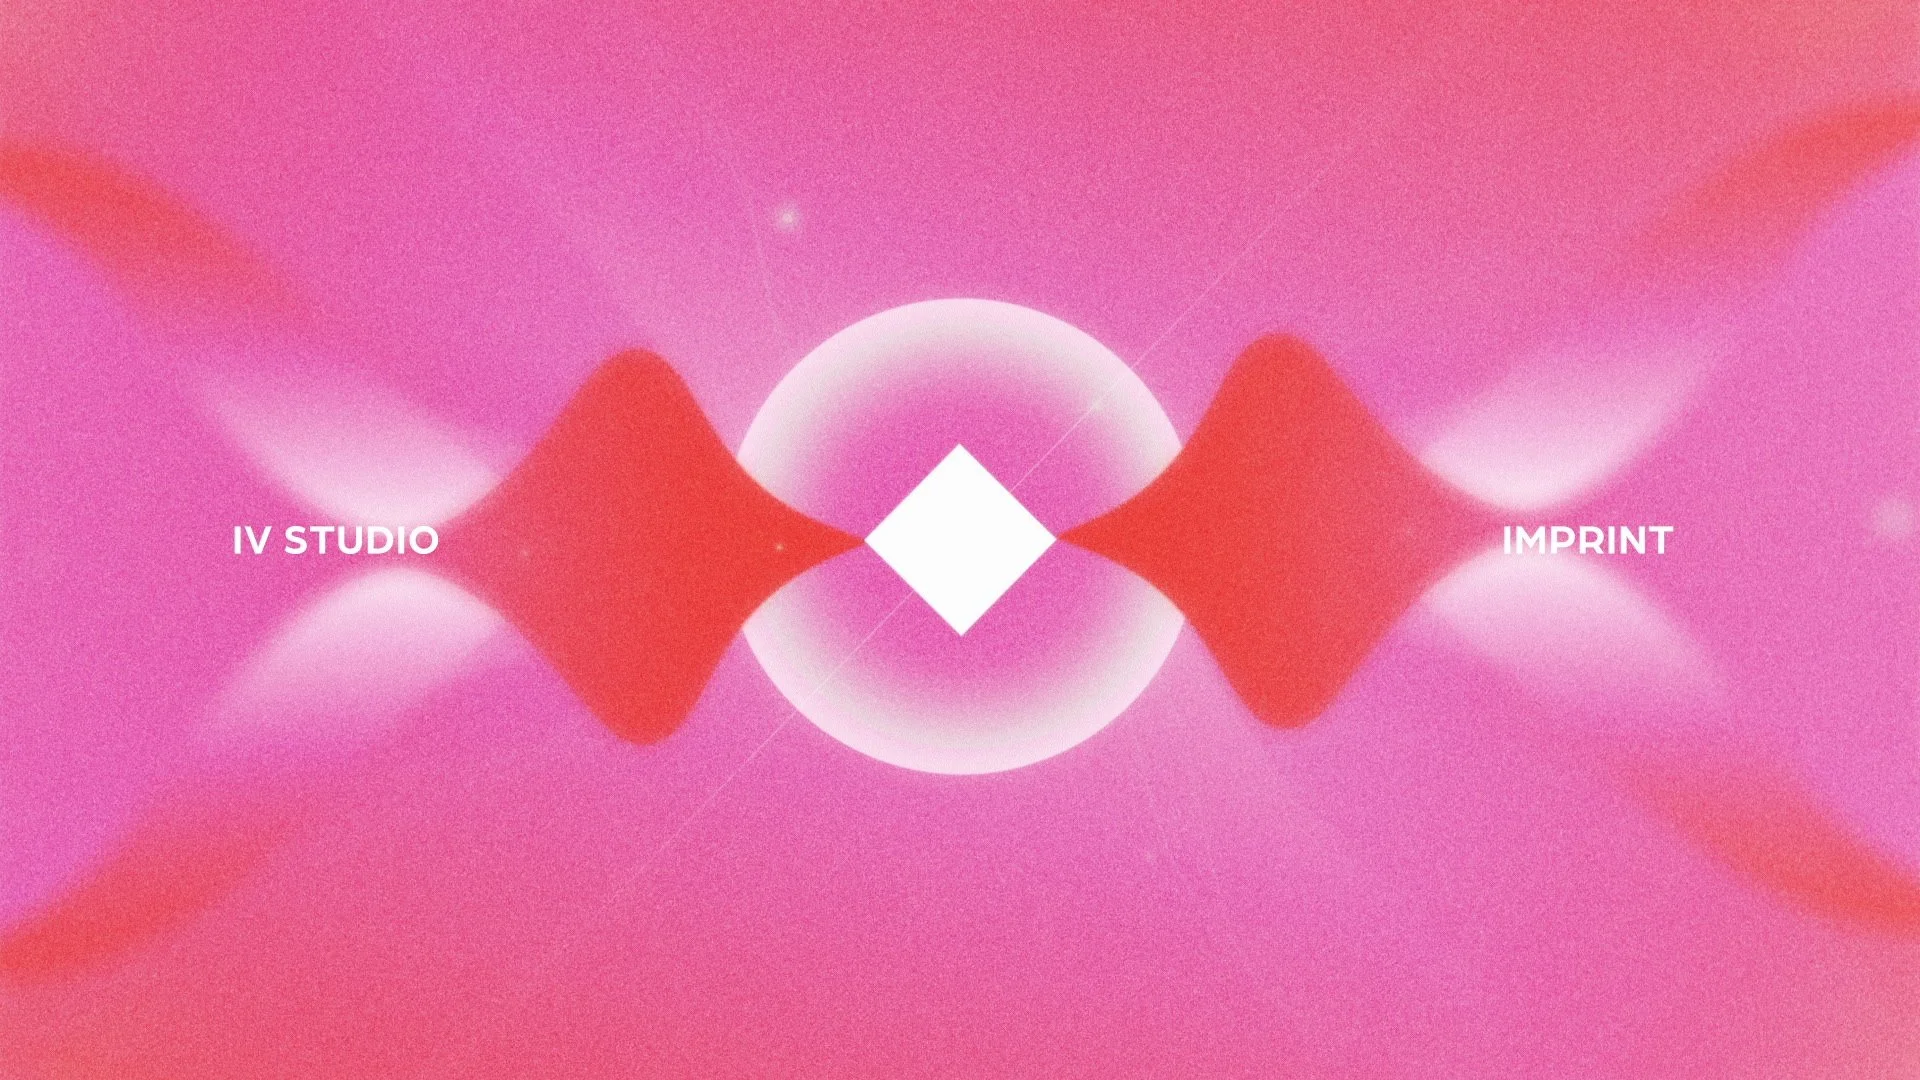
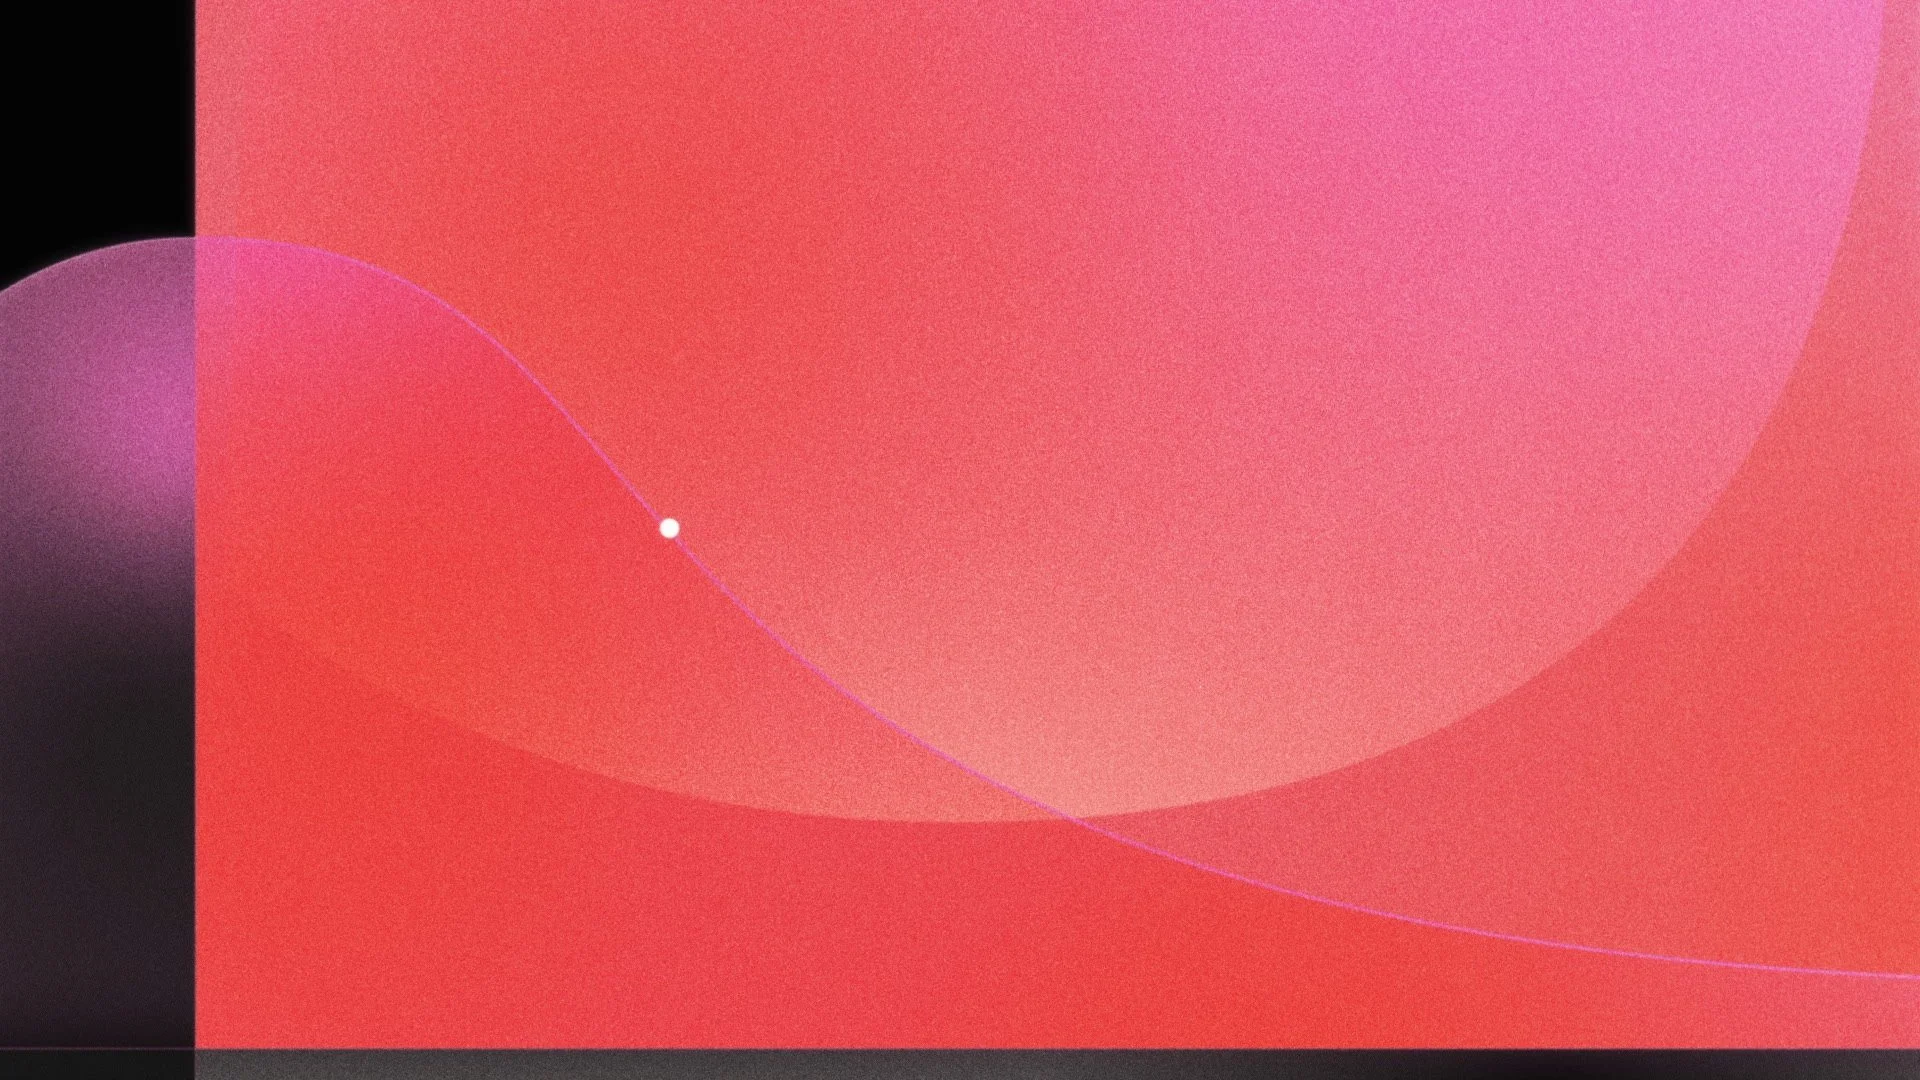
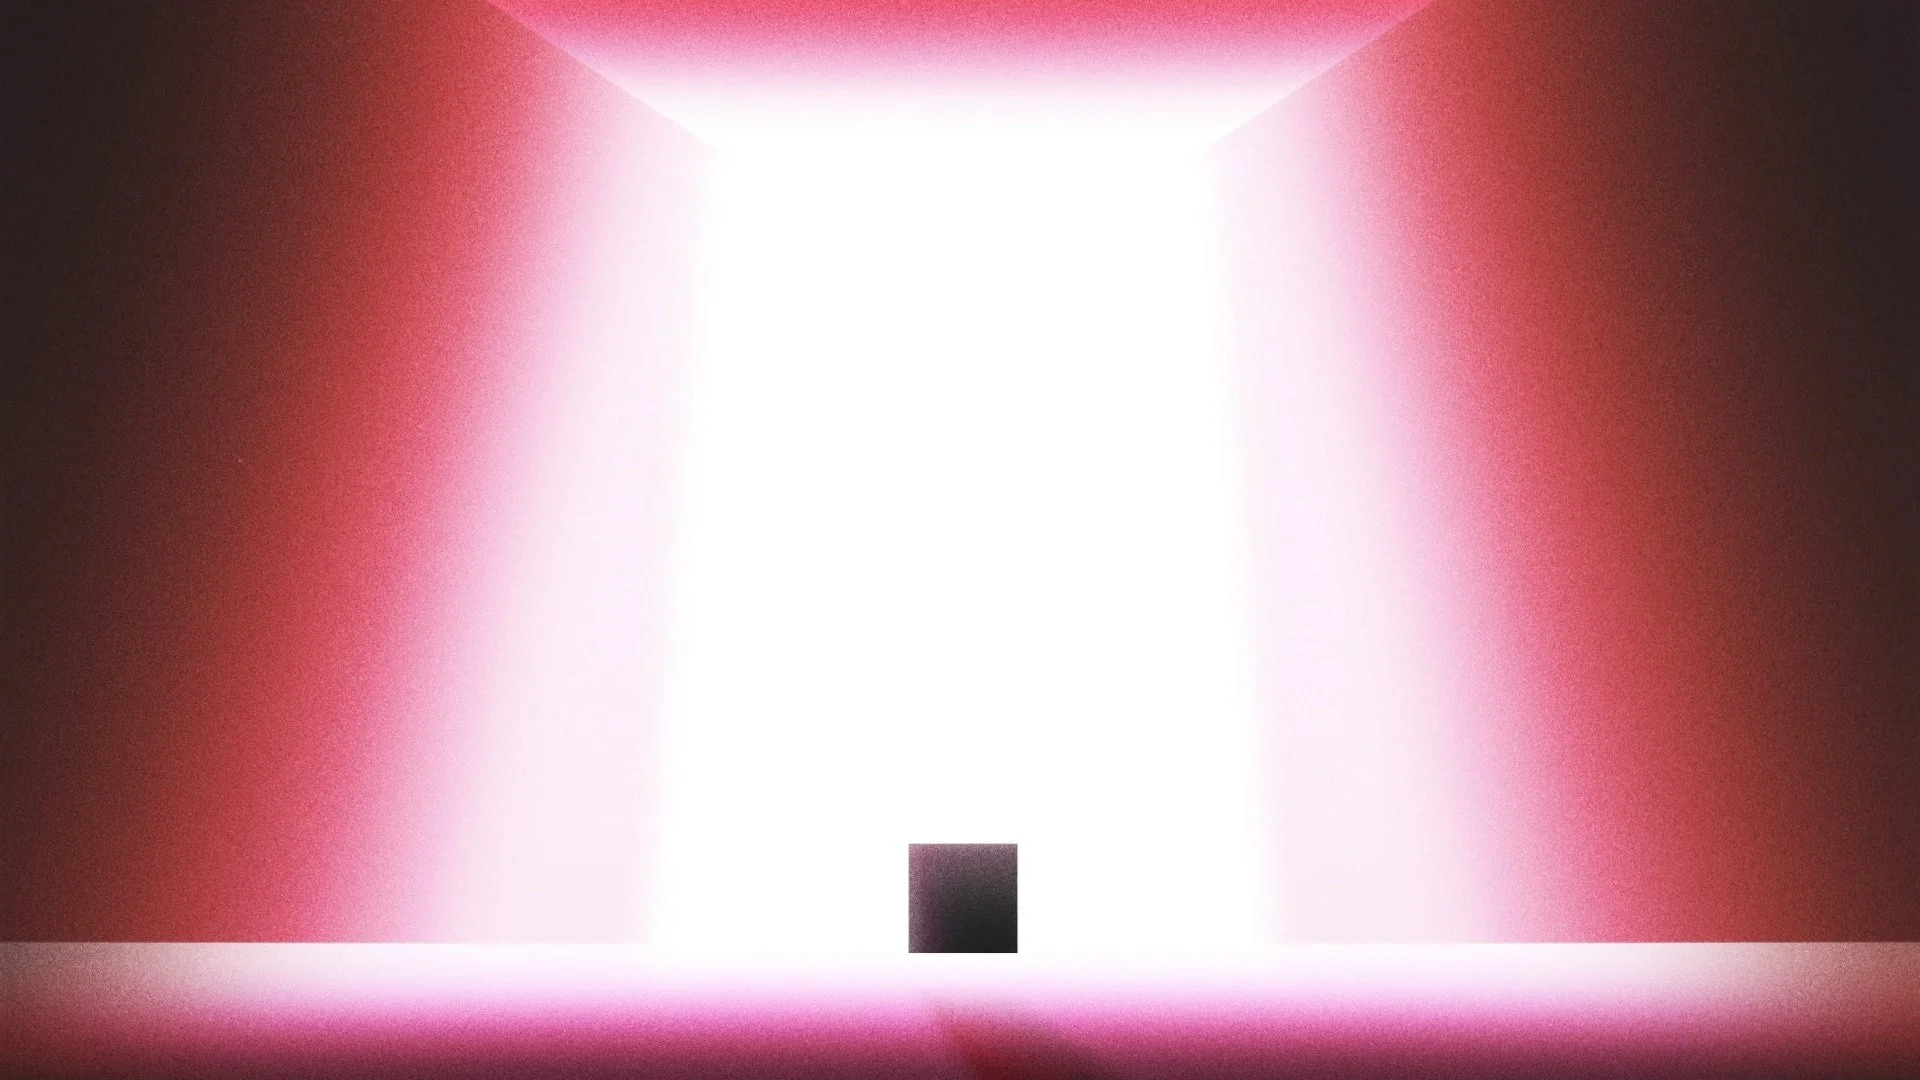
Stills
Co-developed by the CoMotion Branding Team (Click for full image).


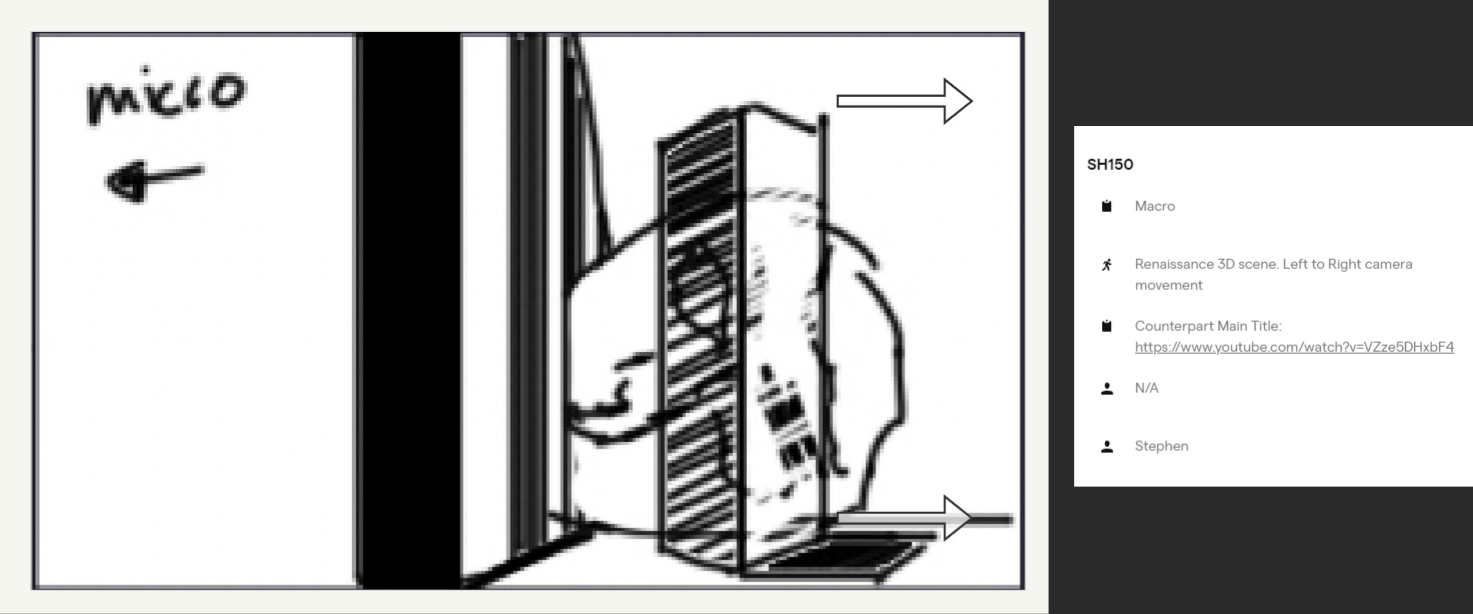
Individual Renders
Shots arranged by Stephen Mok; colour correction and integration by Desmond Du.
Breakdown
Pre-Production
I was presented with moodboards and rough sketches by the Creative Director. This provided me with the opportunity to offer creative input and provide direction on the assembly of the environment and framing of the shots. To better comprehend the scale and concept behind the shots, I requested a rough floorplan. This allowed me to ensure that the final product would meet the intended vision and objectives of the project.


Blockout and Grey-boxing
With a clear understanding of the Creative Director's vision, I initiated the production process. I opted to model the environment using modular pieces to conserve resources and maintain a real-time pipeline. The blockout stage was relatively simple, as I had the advantage of working in real-time, which allowed for efficient prototyping. This allowed me to make changes and adjustments quickly, keeping the project on track and within budget.

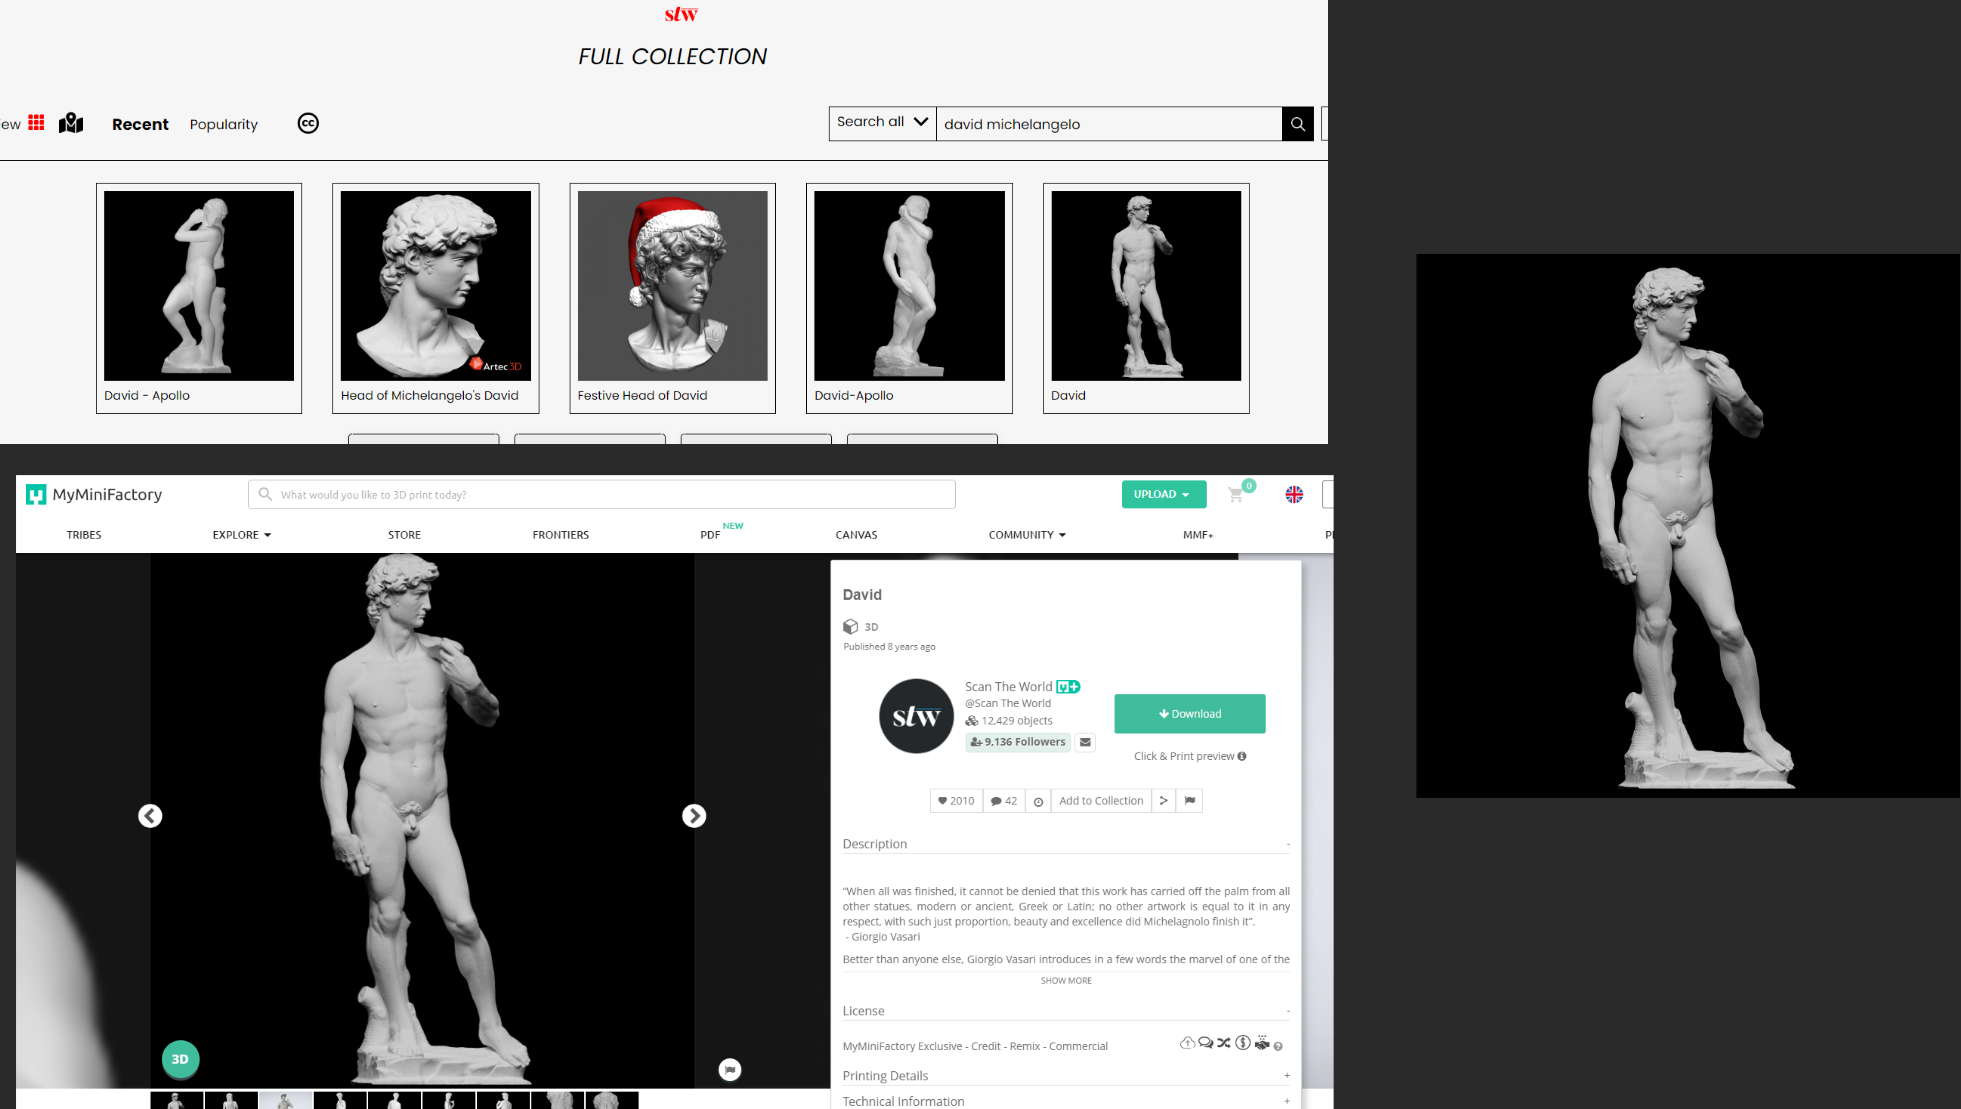
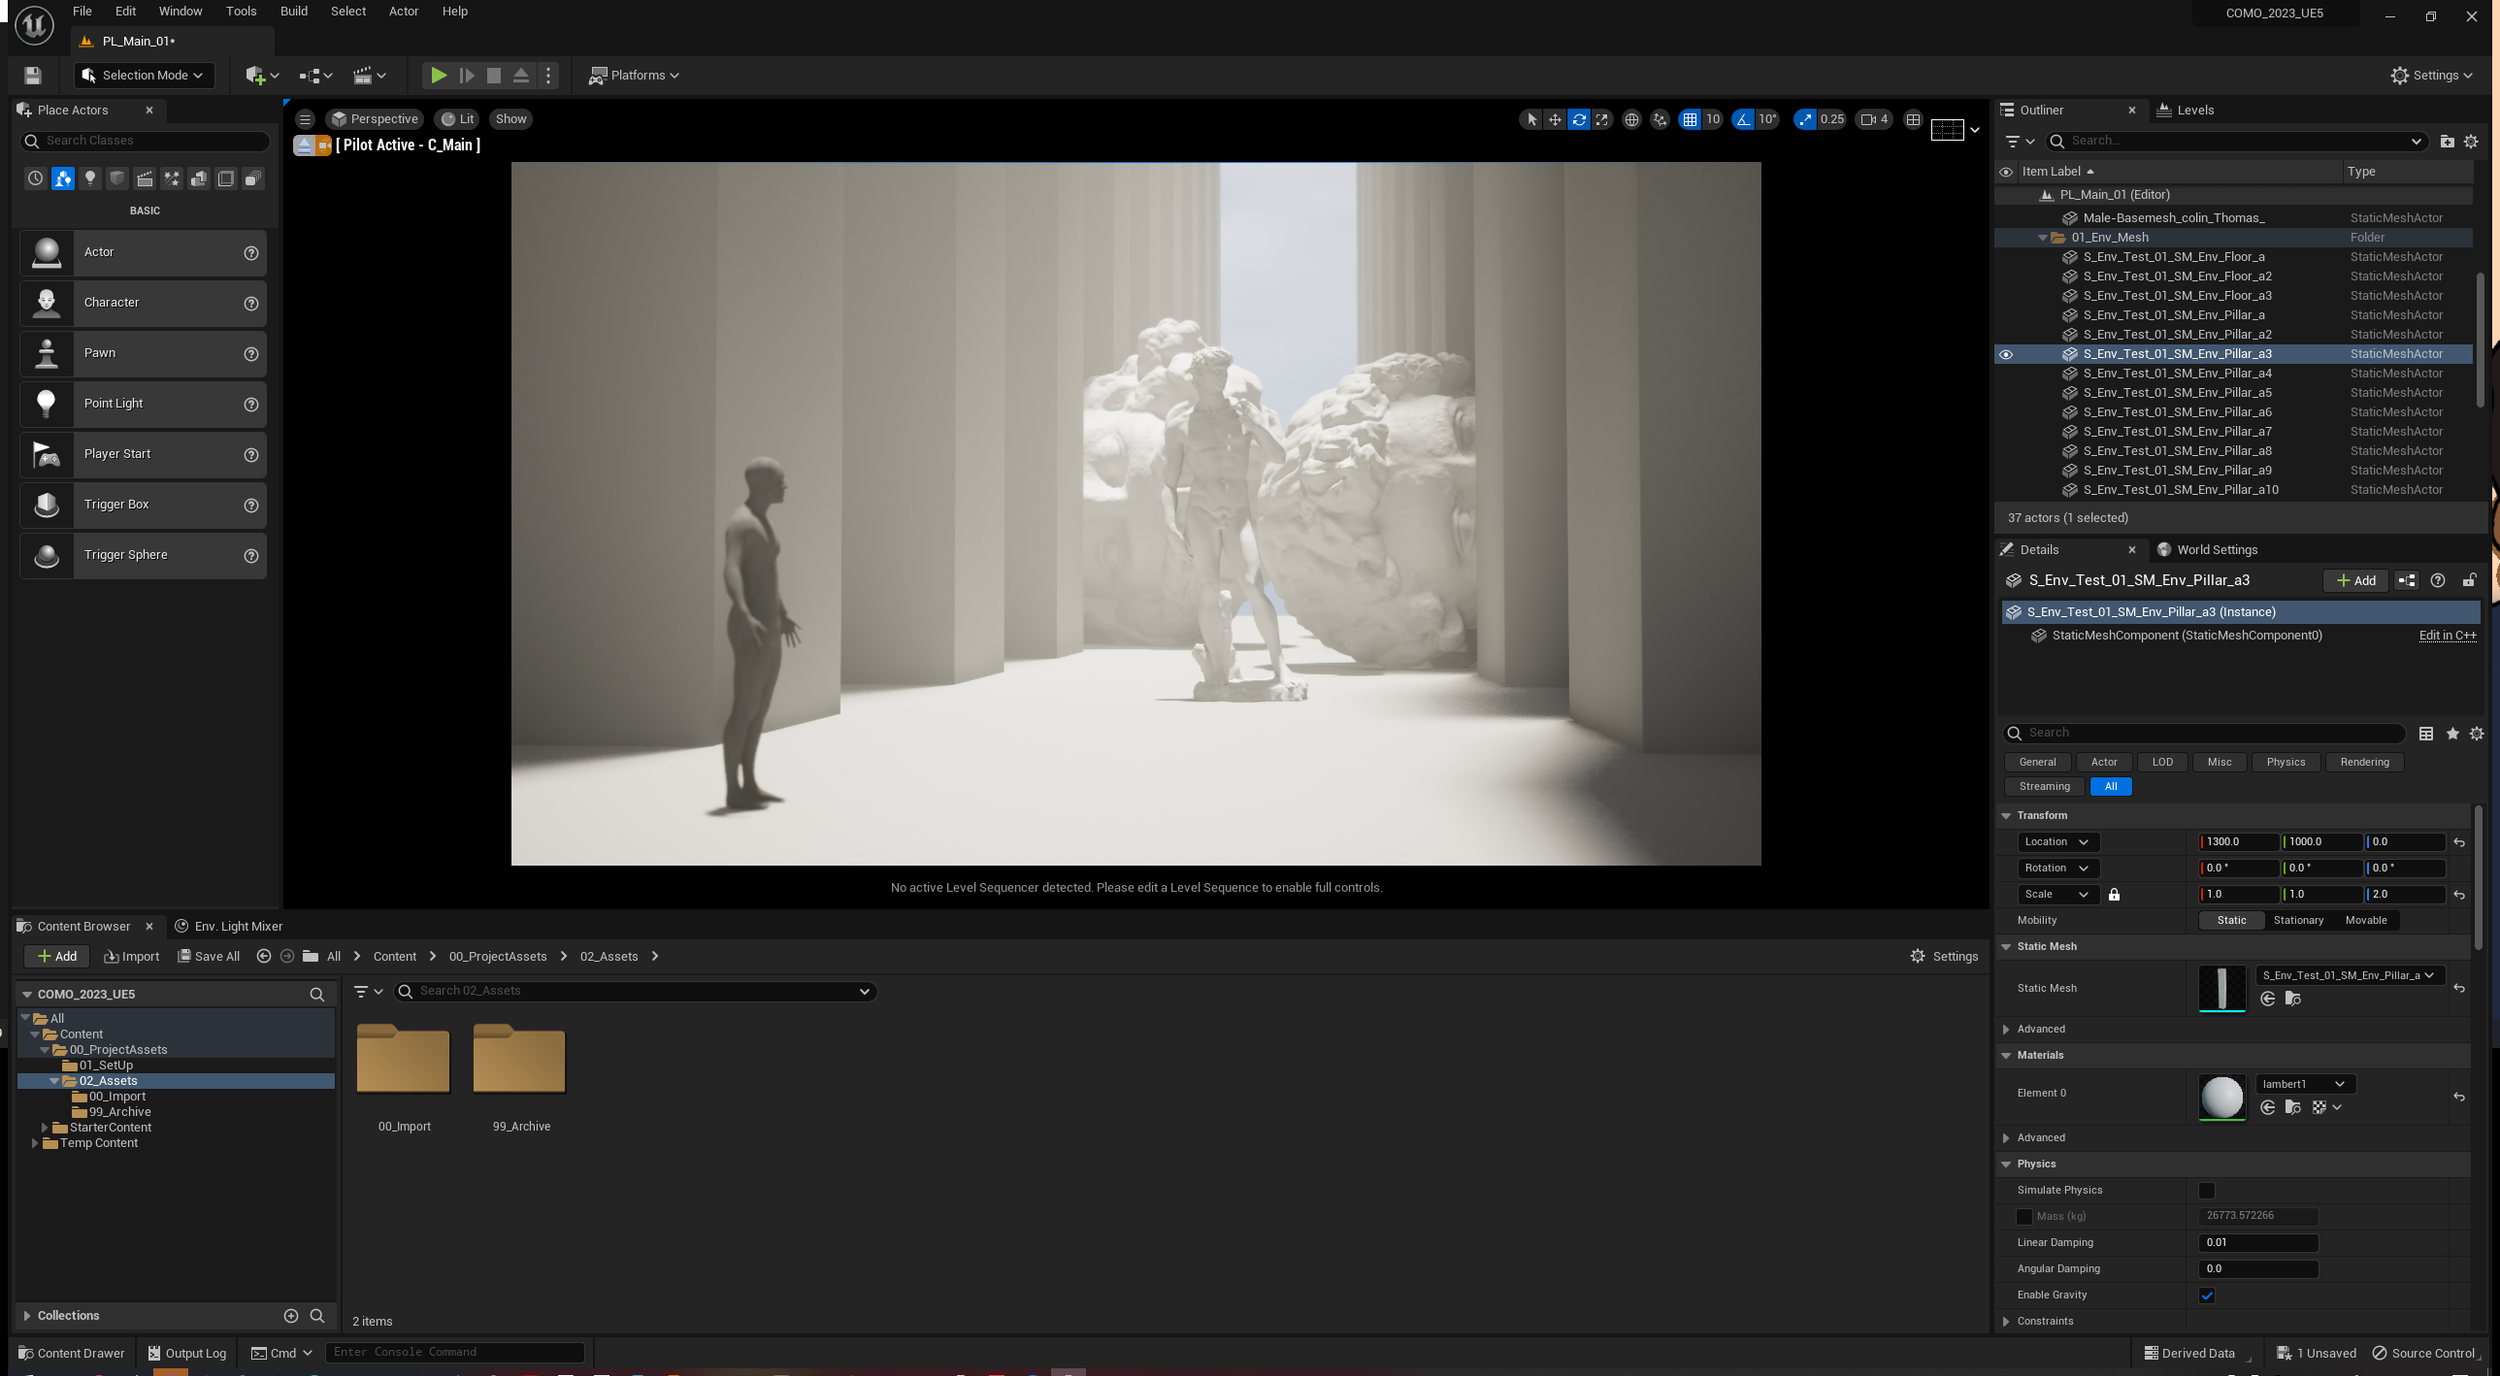
In my shots, I was required to incorporate several Renaissance-style statues, including Michelangelo's David. To find the appropriate models for my scenes, I utilized Scan The World's extensive asset library. These assets were then optimized for real-time use through the process of cleaning them up using ZBrush and Maya. This ensured that the models would perform efficiently in the final product and meet the demanding requirements of the real-time pipeline.

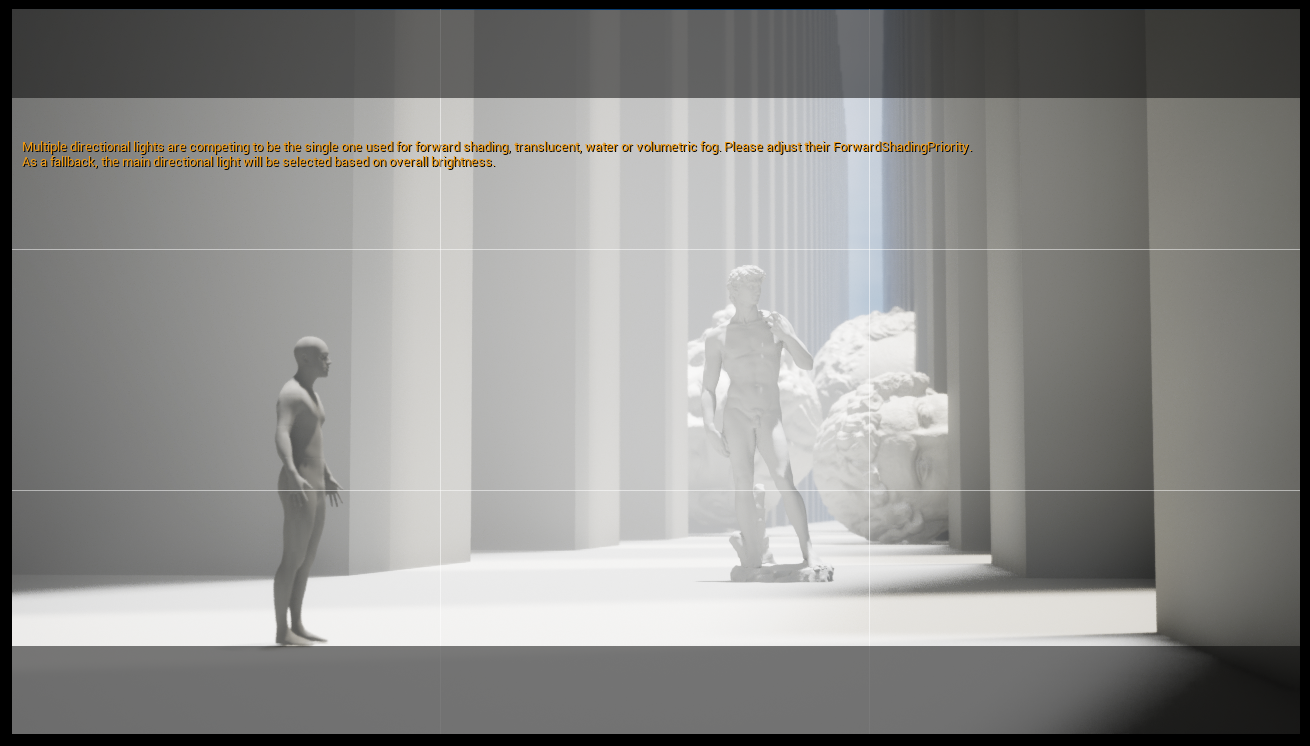
In order to bring my shots to life, I chose to work with Unreal Engine 5 and take advantage of Epic's Nanite technology. By modeling the environment assets as modular pieces, I was able to construct the environment efficiently and establish a basic lighting setup in Unreal. The optimized statues were imported and converted into Nanite geometry to preserve their high-fidelity appearance. This approach allowed me to complete a first pass of the scene, showcasing the power and potential of Unreal Engine 5's Nanite technology (below).
I quickly created several more lighting iterations to find the one that best suited the Creative Director’s vision.


Through close collaboration with the Creative Director and Producers, I was able to determine the desired scale of the scene. This involved a lot of back and forth discussion and experimentation, but the outcome was well worth it. By closely collaborating with the team, I was able to create a scene that met their vision and expectations, delivering a powerful visual experience.


With the scale finalised, I was able to begin refining the existing geometry back in Maya. To save time and resources, the modular environment does not have baked information. As a result, much of the assets’ curvature and definition was done through bevelling and subdivision. Due to the modular workflow, I simply reimported my assets and the geometry in the environment updated itself. To efficiently apply textures to the modular environment, I utilized Epic's Quixel Megascans library.

Once I was satisfied with the scene and the assets, I began setting up my camera shots. I used Unreal Engine’s sequencer and level variants to quickly iterate between compositional and environmental set-ups. The process was very quick and I was able to do several mock renders before finalising the camera framing and movement.

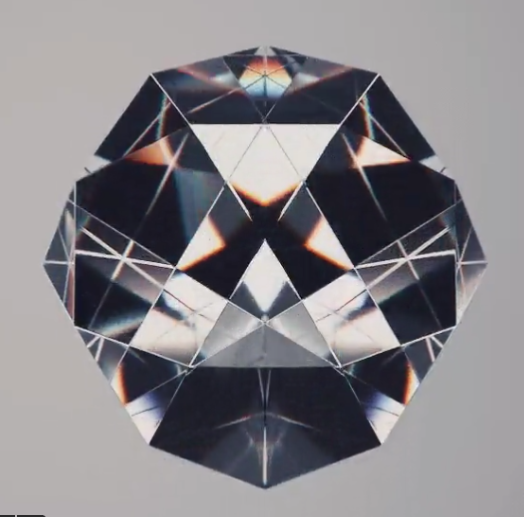
After finalising my camera angles, I began my rendering process. I added some post processing to streamline the colour-grading process later that would be done by the Animation Lead. I made my renders using Unreal Engine's Render Queues plug-in, ensuring the highest level of visual fidelity through the use of Unreal's path-tracing output and optimised Nanite geometry through various console variations. The difference between Lumen and path-tracing was almost night-and-day, especially through the prism.

Once the renders were completed and rendered in EXR format and in ACEScg colour output, they were passed onto the Animation Lead to colour grade and integrate into the title sequence.
Full Credits
Creative Director
Aanvik Singh
Art Director
Marly Koven
Producers
Rachel Golla
Alexis Dow
Lead Animator
Desmond Du
Lead 3D Animator
Stephen Mok
Animators
Harshitha Suresh
Kyle Switzer
Isabelle Winarto
Kaleb Sweeney
Cathy Lin
Meg Aki
Erica Kim
J.C. Petrofsky
Lead Experiential
Samantha Woods
Experiential
Juan Pablo Silhy
Alyssa Mackersie
Meghan Romance
Web Developers
Amadeus Cameron
Isabelle Duffner
Sound Designer
Miguel Concha
Lead Documentation
Libby Nett
Documentation
Caitlin Crooker
Savitri Trivedi
Lead Designer
Tiffany Lo
Designers
Antara Ghosh
Jessica Liou
Xiyuan Wang
Tiffany Tedy
Peter Wang
Xinxun Liao
Yining Li
Lead Graphic Designer
Josie Glassman
Graphic Designer:
Punasa (Bee) Sihsobhon
Meghna Shourie
Nicole Lin
Claire Lin
Sophia D’Alleva
Stephanie Sandoval
Special Thanks - MOMELove
Alexandera Marca
Cora Keene
Shivani Varandani
Lauren Neu
Fatema Sultan
Claire Lin
Peter Wang
Samantha Woods
Tucker Ziegler
Maria Chuiz
Harshitha Suresh
Special Thanks - SCAD Motion Media
Kelly Carlton
Duff Yong
Dominique Elliot
John Colette
Michael Betancourt
Minho Shin
James Gladman
Brandon Sugiyama
Walter Woods
Christina Maloney
Matt Van Rys
Alessandro Imperato